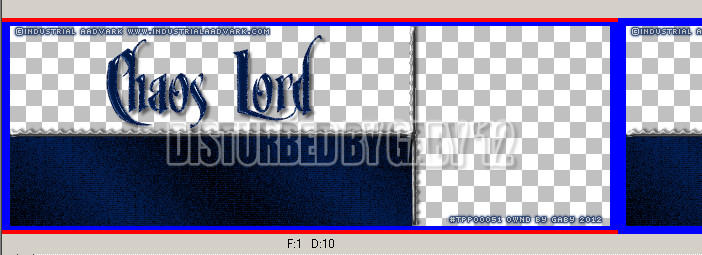
Supplies Needed:
Psp
Tube of choice. I am using a tube by Industrial Aadvark. Purchase it: here
Ray dots animation made by Lovey here
Gradient 002 made by me here
Plugin: Craquelure (texture)
Font here
Open the template. Duplicate the file and close the original.
Select the gradient in the materials menu.
Angle: 0
Repeats: 1
Style: radial
Invert: uncheked
Adjust - Blur - Gaussian Blur:
Radius: 5
Effects - Plugins - Texture - Craquelure:
Effects - Texture Effects - Mosaic Glass:
Activate the layer: rectangle.
Selections - All. Float. Defloat. Add a new layer and floodfill with the gradient:
Angle: 45
Repeats: 0
Style: linear
Invert: uncheked
Effects - Texture Effects - Mosaic Antique:
Deselect and delete the original layer.
Activate the layer: wordart.
Add drop shadow:
V: 3 H: 3
O: 55 B: 4
Open the tube, c/p in the canvas, place it in the right side of the template.
Add your name and copyright. Export now as a jgp, gif or png.
To animate.
You have 5 layers in the template, called:
Animated border 1
Animated border 2
Animated border 3
Animated border 4
Animated border 5
If you want apply a chrome or metal effect.
Add drop shadow:
V: -1 H: 2
O: 50 B: 3
I have added and extra animation to the one included in the template.
If you do the same, merge the tube and the background.
Copy, Open Animation Shop. Paste as a new animation. Duplicate until you have 25 frames.
Back to psp and hide the layer with the background and tube merged.
Copy merged the layers:
Rectangle
Animated border 1
wordart
frame
name and copyright info.
In animation shop, paste as a new animation. Back to psp, hide the layer: Animated border 1
and open the next (Animated border 2), copy merged, paste after current frame in animation shop.
Repeat with the layers: Animated border 3, Animated border 4 and Animated border 5.
Activate the first frame and select all:
Edit - Copy. Go to the last frame (number 5)
Edit - Paste After Current Frame. Now we have 10 frames, select the frame number 10, paste again
do it 2 more times and you will have 25 frames.
Open the animation: coloredraydots-lovey'11.mng. Delete the info frame. You have have 25 frames.
A lil trick to "center" the animation:
Edit - Select all the frame. Animation - Reverse Frames.
Carefully drag it into the first frame of the background animation.
Edit - Select all the frame. Animation - Reverse Frames.
Select the frame with the wordart. Activate the first frame drag it to your main animation and place it.
Play the animation. If you like save and you're done.


No hay comentarios:
Publicar un comentario